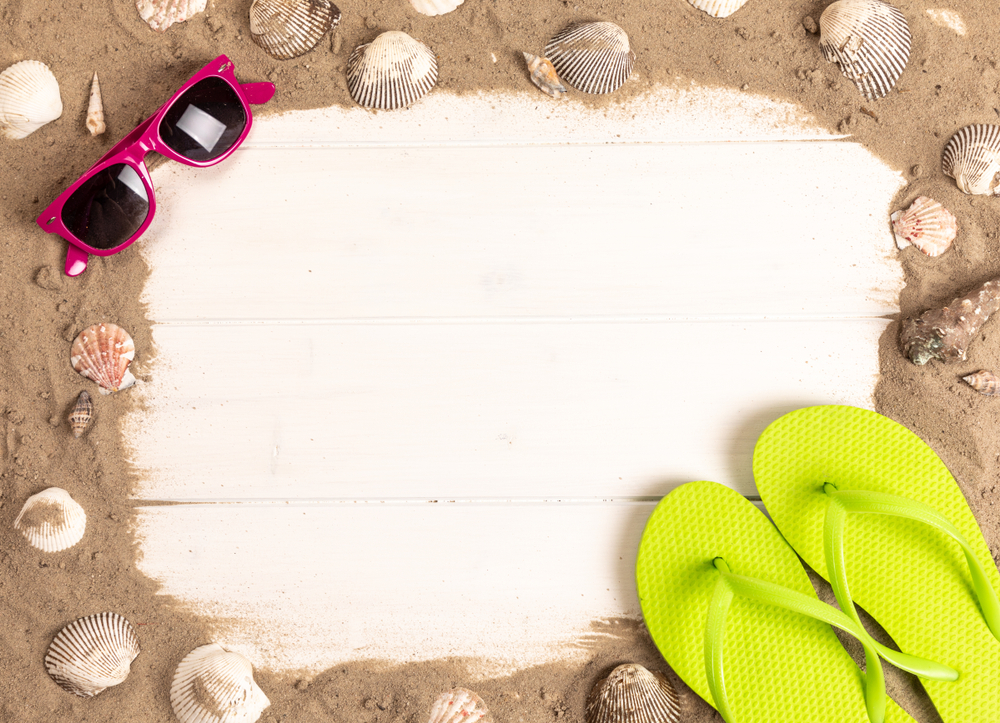
Creating a flip flop door hanger is a fun and creative project that adds a playful touch to your home decor, perfect for summer or to bring a beachy vibe into your space.
Here’s a simple guide on how to make a flip flop door hanger…
Materials Needed:
- A pair of flip flops (new or old)
- Acrylic paint and brushes (if you wish to decorate plain flip flops)
- Permanent markers or fabric markers
- Decorations (rhinestones, stickers, faux flowers, ribbons, etc.)
- Hot glue gun and glue sticks
- A piece of sturdy string, rope, or ribbon for hanging
- Scissors
Instructions:
- Prepare the Flip Flops – If you’re using plain flip flops, you might want to paint them or decorate them with markers. Choose colors and designs that match your desired theme (e.g., beach, floral, patriotic). Let them dry completely if you’re painting them.
- Decorate Your Flip Flops – Use the hot glue gun to attach decorations to your flip flops. This could include rhinestones for some sparkle, faux flowers for a tropical look, or ribbons. You can also use stickers or fabric markers for additional designs or messages. Be creative with your decorations but make sure they are securely attached.
- Attach the Hanging Mechanism – Cut a piece of string, rope, or ribbon to your desired hanging length. Account a little extra length for tying knots. Securely attach the string to the top part of the flip flops (where your toes would go). You can either tie the string directly around the flip flop straps or use the hot glue gun to glue the string to the back of the flip flops for a cleaner look. If you’re using a ribbon, you might want to make a decorative bow.
- Assemble the Door Hanger – If you’re making a single flip flop hanger, your project is almost complete. Just ensure the string is secure, and your decoration is ready to hang. For a double flip flop hanger, you can attach the flip flops side by side or one above the other. Adjust the length of the string accordingly, ensuring both flip flops are balanced and hang nicely.
- Final Touches – Once everything is attached and dry, hang your flip flop door hanger on your door or wall. Adjust the position until it hangs just right.
This flip flop door hanger can be a great personal touch to your home or an excellent handmade gift for friends and family. Feel free to experiment with different themes and decorations to match various occasions or seasons!


